This is Part 3 of the series showing my step-by-step approach to a watercolour painting. In Part 1, I explained how I transfer the image onto the paper, and in Part 2, I started to layer the watercolour paint on in thin, transparent washes.
In Figure 14 and Figure 15, I have started to build up more layers of paint to get a rich, transparent colour. I am mixing the paint with gum arabic, which is an experiment, but I am pleased with how the gum arabic is giving the paint a gloss. It is making the paint more difficult to control as it is sitting on top of the paper, rather than soaking in. As each layer of wash goes on, it mixes slightly with the one underneath, so I do have to be gentle with the brush so that the colours don't go muddy.
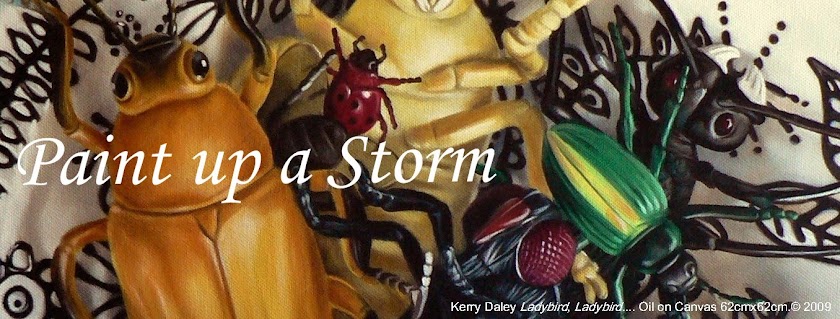
What I like about it, though, is that I can move some of the paint after it has dried, which is not always possible with watercolour. The highlights on the ladybird have been created by lifting off a bit of the colour. I have also been able to move some of the dark on the legs and body of the fly, to smooth out the highlights.
I like to be able to lift out with watercolour, it gives me freedom to make mistakes and fix them up later. Lifting out is easier with a paper that has a lot of size (the glue stuff they put on the surface of the paper to control its absorbency), but watercolour paper does not have a lot of size, so I am pleased to see that the gum arabic is giving me the same result.
 |
| Figure 14 |
 |
| Figure 15 |
I have yet to tackle the bowl and background, but am feeling more confident that I may be able to pull it off. Here's hoping.
Stay tuned for the next instalment.
No comments:
Post a Comment