This is the Part 2 of my watercolour painting process. In Part 1, I showed how to transfer an image from a photo onto the watercolour paper and gave my Top Tips for Tracing. Here I lay out my equipment and start painting in thin transparent washes.
 |
| Figure 7 |
Figure 7 I have used a piece of prestik (blue-tac) to mark my place on the photo as I draw from it - all those little holes in the bowl look the same and I can lose my place without the marker. I learned this tip from a botanical painter. Move your marker as you go along.
 |
| Figure 8 |
Figure 8 Here I have placed the tracing and the finished drawing side-by-side. From this you can see that I add a lot of details after I have finished transferring the image from the tracing paper. The tracing is an aid - not a crutch!
Starting to paint
 |
| Figure 9 |
Figure 9 This is my watercolour painting set up. My brushes, water and palette are placed on my right hand side (I am right handed) so that I don't drip on my work reaching over to get at them. I experimented with a disposable palette (as seen here under my paintbox), but it is too waxy for watercolour, and I used my paintbox palette instead. I love a disposable palette for oil painting - so easy to clean up!
 |
| Figure 10 |
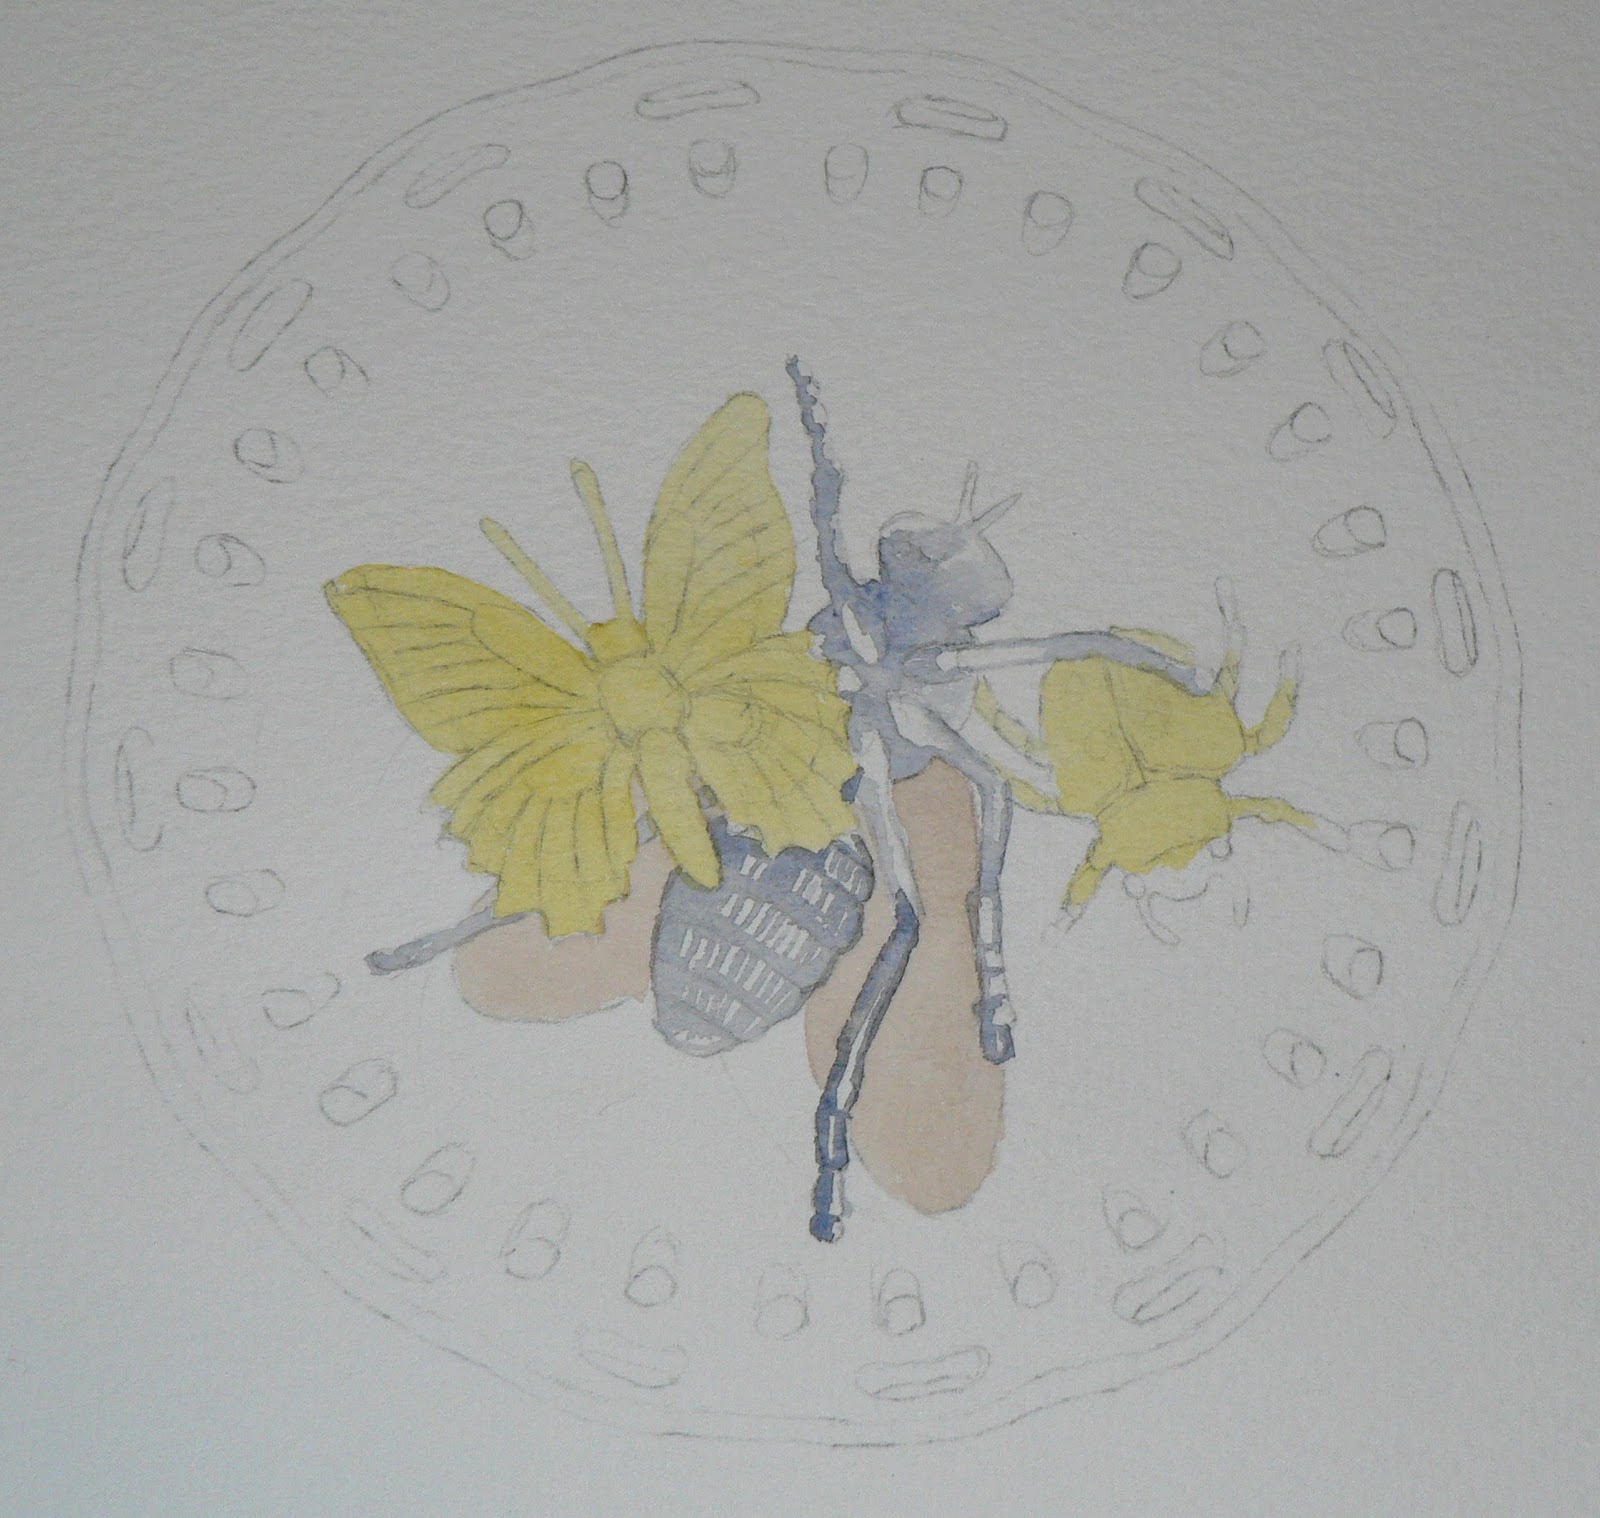
Figure 10 The first washes are on, thin and transparent. I should really start with the background, but as I am undecided about it, I have started with the insects. I don't intend to paint the pattern on the plate, nor the blue background behind the plate, but I haven't decided what I am going to do. I don't recommend this as best practise, but sometimes it is the way a painting goes! I am hopeful that I will decide as I go along, or I may end up in a bit of a mess.
When laying a small area of wash (thin wet paint) such as I have done here, it is not necessary to wet the area first as the colour can be quickly applied without fiddling too much. DON'T touch after you have applied the wash until the area is completely dry!
 |
| Figure 11 |
Figure 11 In this photo, you can see that I have put another transparent layer of colours over the first. I have used a mix of ultramarine and burnt sienna for the dark areas, and in some cases a bit of winsor blue with burnt sienna. The wing is burnt sienna, and the yellow, new gamboge.
 |
| Figure 12 |
Figure 12 At this point I am starting to use a little gum arabic with the paint - I have never tried it before, but read that it gives the painting a shine. I can see the shine, but doubt that it will be very effective on the paper I am using - Bokingford 300g - it is far too textured and absorbent. I like a very smooth drawing paper with good sizing for fine detail watercolour, but couldn't find what I wanted so have settled for something not quite suitable for this painting. Have to soldier on.
 |
Figure 13
|
Figure13 As this photo is taken in daylight, rather than with a flash, the texture of the paper is more visible and the colours are more accurate than the earlier photos - note to self - do painting in daylight so that you can photograph!. I have added a few more layers of paint - sticking to transparent colours at this stage. I am happy with how the paintings is going, but can see that I will need to do some work to make the image appear 3 dimensional rather than flat.
More of this step-by-step watercolour painting in Part 3
Painting from Photographs
There is an interesting discussion on painting from photos on Making a Mark, the excellent blog by Katherine Tyrell. Using photographs to paint from is always controversial
My own opinion is that a photograph is a tool, often more convenient, quicker and easier than working from life. I like to work from a photo, I also like to work from the real object. I am against painting from a photo I have not taken myself (except in the case of a portrait where I may use the sitter's photo.) I don't like the practise of painting from magazine pictures or stock photos, it is unimaginative and often plagiarism.


No comments:
Post a Comment