An oldie, but a goodie! (A5 size)
Showing posts with label watercolour. Show all posts
Thursday, October 28, 2010
Sunday, September 26, 2010
Step-by-Step Watercolour Painting - Part 5
This is the last Part in the Step-by-Step Watercolour Painting Series. You can see Part 1, Part 2, Part 3 and Part 4 by clicking on these links.
I started with a photo that I had taken a while ago. I have been working on these plastic animals in bowls for sometime, and have quite a few reference photos. This painting is 18cm x 18cm big, a bit bigger than the subject matter (the bowl is about 10cm in diameter.)
It has been quite some time since I have used watercolours, and in this work, I experimented with adding gum arabic to the paint to give it a gloss. There is not much difference between these three stages, just a tweaking of the wash on the bowl, and cleaning up some of the details that got lost.
Overall, I am happy with the result. If I had to paint this again though, I would definitely do the bowl first and the insects afterwards. It was difficult to work on the bowl with the insects already painted, especially as I had used so much gum arabic, and the paint came off the paper very easily.
![]() |
| Figure 18 |
![]() |
| Figure 19 |
![]() |
| Kerry Daley, Settling In. Watercolour on Paper 18cm x 18cm © 2010 |
Overall, I am happy with the result. If I had to paint this again though, I would definitely do the bowl first and the insects afterwards. It was difficult to work on the bowl with the insects already painted, especially as I had used so much gum arabic, and the paint came off the paper very easily.
While trawling the net this week, I came across these great things:
- I loved the pictures on teescha's circus - wish that was my place!!
- I discovered these beautiful watercolour paintings by the artist Ali Cavanaugh, in the Watercolour Artist magazine (December 2009) and looked up her site. I particularly like Interior Light.
- I just LOVE andrea joseph's sketchblog.
- Watercolour Artist Diary by Tracy Hall is a great new blog that I am following on my google reader.
- Get free artist desktop wall papers at Artist Network.
I would like to thank Katherine Tyrell of Making a Mark and Darren Brant for visiting my blog and taking the time to leave a comment.
Saturday, September 18, 2010
5 Favourite Watercolour Paintings
Here are 5 of my favourite watercolour paintings.
The style of these paintings was inspired by botanical painting after I had seen a wonderful exhibition of the Shirley Sherwood Collection of Botanical Art at the Kirstenbosch Gardens in Cape Town, South Africa.
This is a painting of a loquat leaf from a tree outside the classroom where I taught high school Art. It is painted on a smooth paper called Schoellershammer. The paint sits on the surface of the paper and does not soak in as it would on a watercolour paper. The colours and edges are crisp and clean as a result.
This is a piece of copper wire. I love the delicate lines.
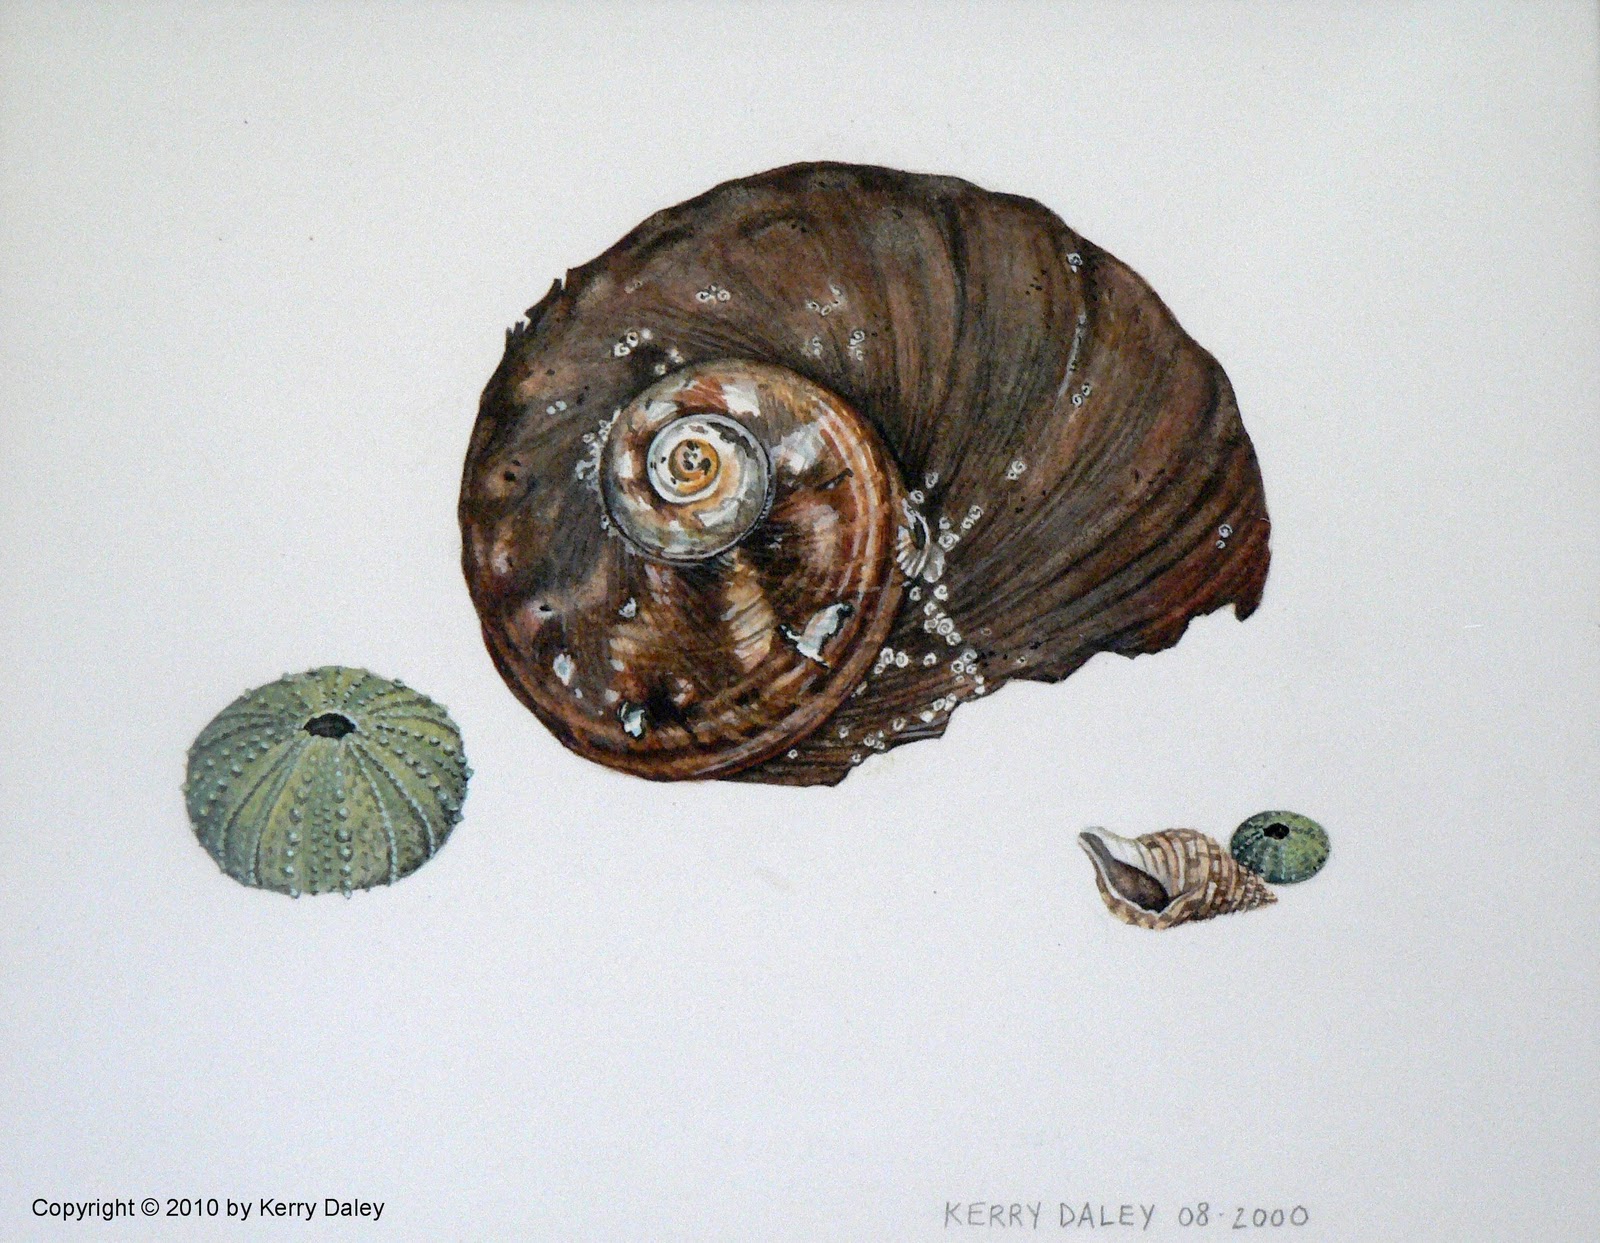
Shells are among my favourite painting subjects.
I picked this mushroom straight out of the lawn in our garden in South Africa. I had to keep it in some soil in a dark kitchen cupboard until I had finished painting it.
This was a beautiful specimen of a weaver nest that I kept for a long time and drew and painted.
If you would like to see how I approach a watercolour painting, I have photographed and explained the stages in a series of posts starting at A Step-by-Step Watercolour Painting.
Sunday, September 12, 2010
Step-by-Step Watercolour Painting - Part 4
This is Part 4 of my watercolour painting. I have been photographing each stage to show the development of a watercolour painting step-by-step. You can click on these links to see Part 1, Part 2, and Part 3
In these photos, I am starting to put in the washes for the bowl - very nerve racking, as I am quite happy with how the bugs have turned out, and don't want to mess up at this stage!
In a perfect world, I would have used masking fluid on the bugs and on all the little openings in the bowl, laid over a perfect wash, removed the masking fluid and then painted the bugs at the end - a bit late now. So the wash is a bitty affair as I try to get around all of the details. I have never had much success with masking fluid on watercolour paper, I find it tears the surface a bit - pity, because it is such a great idea. If anyone can tell me what I am doing wrong with the stuff, I would love to know!
I have a terrible habit of leaving the backgrounds until the end, and getting myself into all sorts of trouble - don't do what I have done - paint from the back to the front, it's good advice!
That said, I quite like the backruns in the wash, and truthfully, am over the moon that the painting is working at all!
The legs of the ladybird have bled a bit into the background - the fault of the gum arabic, I think. They will need to be touched up at the end. The gum arabic has given the paint a wonderful sheen - I love it - quite unlike the surface of a watercolour painting - I am planning on glazing a thin layer over the whole painting at the end.
Can't wait to see how it all turns out! (See the finished work here.)
![]() |
| Figure 16 |
![]() |
| Figure 17 |
In a perfect world, I would have used masking fluid on the bugs and on all the little openings in the bowl, laid over a perfect wash, removed the masking fluid and then painted the bugs at the end - a bit late now. So the wash is a bitty affair as I try to get around all of the details. I have never had much success with masking fluid on watercolour paper, I find it tears the surface a bit - pity, because it is such a great idea. If anyone can tell me what I am doing wrong with the stuff, I would love to know!
I have a terrible habit of leaving the backgrounds until the end, and getting myself into all sorts of trouble - don't do what I have done - paint from the back to the front, it's good advice!
That said, I quite like the backruns in the wash, and truthfully, am over the moon that the painting is working at all!
The legs of the ladybird have bled a bit into the background - the fault of the gum arabic, I think. They will need to be touched up at the end. The gum arabic has given the paint a wonderful sheen - I love it - quite unlike the surface of a watercolour painting - I am planning on glazing a thin layer over the whole painting at the end.
Can't wait to see how it all turns out! (See the finished work here.)
Saturday, September 11, 2010
Step-by-Step Watercolour Painting - Part 3
This is Part 3 of the series showing my step-by-step approach to a watercolour painting. In Part 1, I explained how I transfer the image onto the paper, and in Part 2, I started to layer the watercolour paint on in thin, transparent washes.
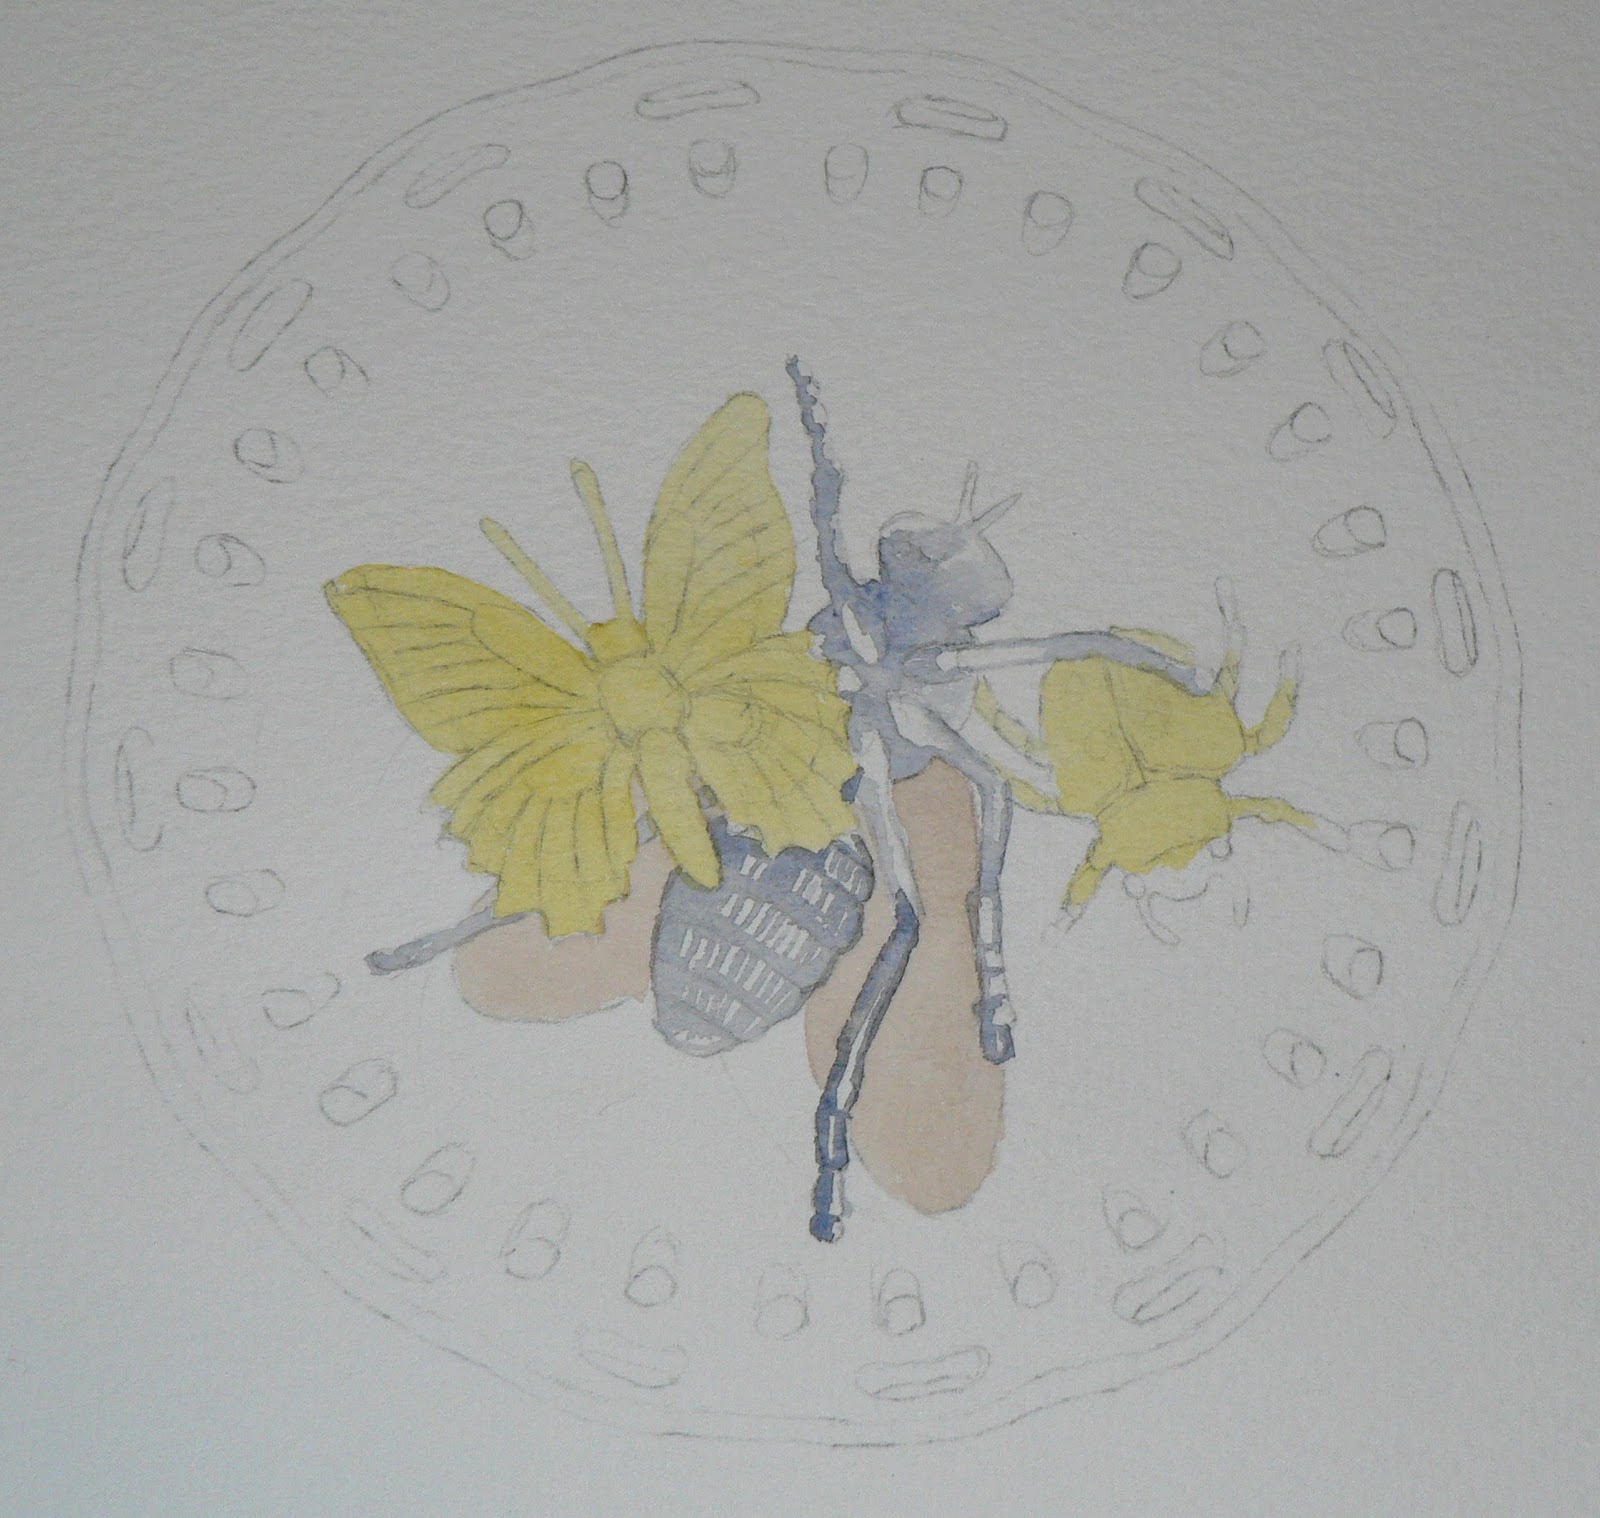
In Figure 14 and Figure 15, I have started to build up more layers of paint to get a rich, transparent colour. I am mixing the paint with gum arabic, which is an experiment, but I am pleased with how the gum arabic is giving the paint a gloss. It is making the paint more difficult to control as it is sitting on top of the paper, rather than soaking in. As each layer of wash goes on, it mixes slightly with the one underneath, so I do have to be gentle with the brush so that the colours don't go muddy.
What I like about it, though, is that I can move some of the paint after it has dried, which is not always possible with watercolour. The highlights on the ladybird have been created by lifting off a bit of the colour. I have also been able to move some of the dark on the legs and body of the fly, to smooth out the highlights.
I like to be able to lift out with watercolour, it gives me freedom to make mistakes and fix them up later. Lifting out is easier with a paper that has a lot of size (the glue stuff they put on the surface of the paper to control its absorbency), but watercolour paper does not have a lot of size, so I am pleased to see that the gum arabic is giving me the same result.
![]() |
| Figure 14 |
![]() |
| Figure 15 |
I have yet to tackle the bowl and background, but am feeling more confident that I may be able to pull it off. Here's hoping.
Stay tuned for the next instalment.
Thursday, September 9, 2010
Step-by-Step Watercolour Painting - Part 2
This is the Part 2 of my watercolour painting process. In Part 1, I showed how to transfer an image from a photo onto the watercolour paper and gave my Top Tips for Tracing. Here I lay out my equipment and start painting in thin transparent washes.
Figure 8 Here I have placed the tracing and the finished drawing side-by-side. From this you can see that I add a lot of details after I have finished transferring the image from the tracing paper. The tracing is an aid - not a crutch!
Starting to paint
Figure 9 This is my watercolour painting set up. My brushes, water and palette are placed on my right hand side (I am right handed) so that I don't drip on my work reaching over to get at them. I experimented with a disposable palette (as seen here under my paintbox), but it is too waxy for watercolour, and I used my paintbox palette instead. I love a disposable palette for oil painting - so easy to clean up!
Figure 10 The first washes are on, thin and transparent. I should really start with the background, but as I am undecided about it, I have started with the insects. I don't intend to paint the pattern on the plate, nor the blue background behind the plate, but I haven't decided what I am going to do. I don't recommend this as best practise, but sometimes it is the way a painting goes! I am hopeful that I will decide as I go along, or I may end up in a bit of a mess.
When laying a small area of wash (thin wet paint) such as I have done here, it is not necessary to wet the area first as the colour can be quickly applied without fiddling too much. DON'T touch after you have applied the wash until the area is completely dry!
Figure 11 In this photo, you can see that I have put another transparent layer of colours over the first. I have used a mix of ultramarine and burnt sienna for the dark areas, and in some cases a bit of winsor blue with burnt sienna. The wing is burnt sienna, and the yellow, new gamboge.
Figure 12 At this point I am starting to use a little gum arabic with the paint - I have never tried it before, but read that it gives the painting a shine. I can see the shine, but doubt that it will be very effective on the paper I am using - Bokingford 300g - it is far too textured and absorbent. I like a very smooth drawing paper with good sizing for fine detail watercolour, but couldn't find what I wanted so have settled for something not quite suitable for this painting. Have to soldier on.
Figure13 As this photo is taken in daylight, rather than with a flash, the texture of the paper is more visible and the colours are more accurate than the earlier photos - note to self - do painting in daylight so that you can photograph!. I have added a few more layers of paint - sticking to transparent colours at this stage. I am happy with how the paintings is going, but can see that I will need to do some work to make the image appear 3 dimensional rather than flat.
More of this step-by-step watercolour painting in Part 3
Painting from Photographs
![]() |
| Figure 7 |
Figure 7 I have used a piece of prestik (blue-tac) to mark my place on the photo as I draw from it - all those little holes in the bowl look the same and I can lose my place without the marker. I learned this tip from a botanical painter. Move your marker as you go along.
![]() |
| Figure 8 |
Starting to paint
![]() |
| Figure 9 |
![]() |
| Figure 10 |
When laying a small area of wash (thin wet paint) such as I have done here, it is not necessary to wet the area first as the colour can be quickly applied without fiddling too much. DON'T touch after you have applied the wash until the area is completely dry!
![]() |
| Figure 11 |
![]() |
| Figure 12 |
![]() |
| Figure 13 |
More of this step-by-step watercolour painting in Part 3
Painting from Photographs
There is an interesting discussion on painting from photos on Making a Mark, the excellent blog by Katherine Tyrell. Using photographs to paint from is always controversial
My own opinion is that a photograph is a tool, often more convenient, quicker and easier than working from life. I like to work from a photo, I also like to work from the real object. I am against painting from a photo I have not taken myself (except in the case of a portrait where I may use the sitter's photo.) I don't like the practise of painting from magazine pictures or stock photos, it is unimaginative and often plagiarism.
Tuesday, September 7, 2010
A Step-by-Step Watercolour Painting
I have just started a watercolour painting using the same theme as my recent oil paintings. I thought you might like to see how I go about it.
Transferring the image onto the paper
![]() |
| Figure 1 |
![]() |
| Figure 2 |
Figure 2 When I have traced as much as I can see, I turn the tracing paper over and colour over the lines with pencil. The tracing is done in pen, so it remains visible under the pencil. I have used a 2B pencil to colour with.
![]() |
| Figure 3 |
Figure 3 When I have covered all of the pen lines (on the back) with pencil, I turn the tracing paper back to the right side, position it on the watercolor paper and tape it down so that it does not move.
![]() |
| Figure 4 |
![]() |
| Figure 5 |
![]() |
| Figure 6 |
To be continued...
Top Tips for Tracing:
- Use a pen to trace your picture, and trace carefully. There is no point in tracing, if you are not going to be accurate.
- It is a good idea to write "right side" on the tracing paper. I have transferred the wrong side of an image more than once.
- Only colour over the lines, as too much pencil on the back of the tracing paper will smear on your watercolor paper.
- Tape you tracing paper down onto your watercolour paper so that it does not move.
- Use a different colour pen from the first one to transfer the image, but DON"T press too hard, you do not want to engrave the image into your paper!
- Correct and refine after tracing so that you image is not thick and clumsy.
- Remove as much of the pencil with a putty rubber as possible before you start painting. (Prestik or Blue tac will also do the job.)
Subscribe to:
Posts (Atom)